Here’s a list of best practices, collected from having recorded a great deal of release videos. Tips range from avoiding a cursor moving out of the canvas to stop recording, to ensuring you get a good crop for the video. Hopefully they can be helpful to you as well, as you embark on a video recording journey!
1. Set A Black Background

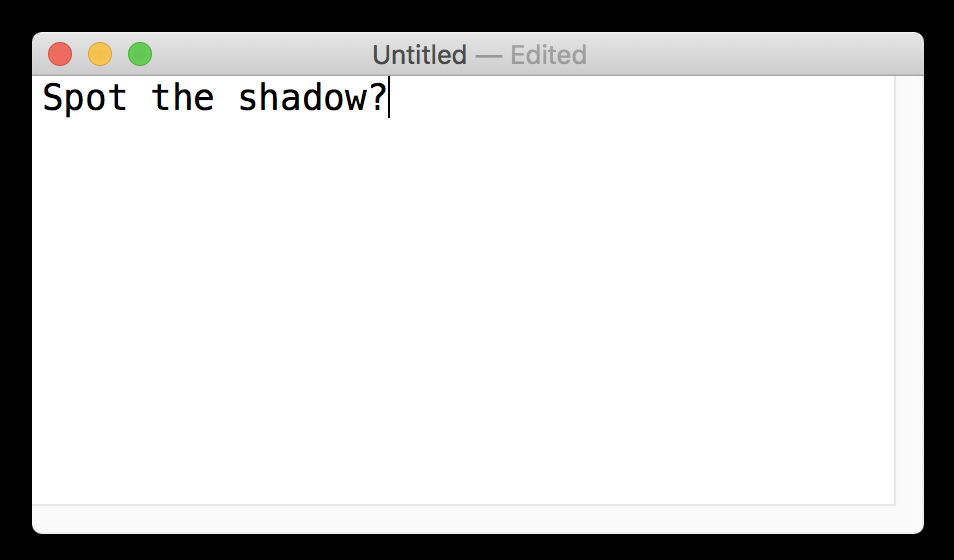
Chances are you’re on an operating system that adds drop shadows behind your browser window. Those shadows are black, so if they blend into a black background, it’s easier to crop your video in a nice way.
2. Clean Your Browser
Hide all your extensions, that’s not what you’re demoing. Use any browser you like, it doesn’t matter — just try and use the same browser for all videos.
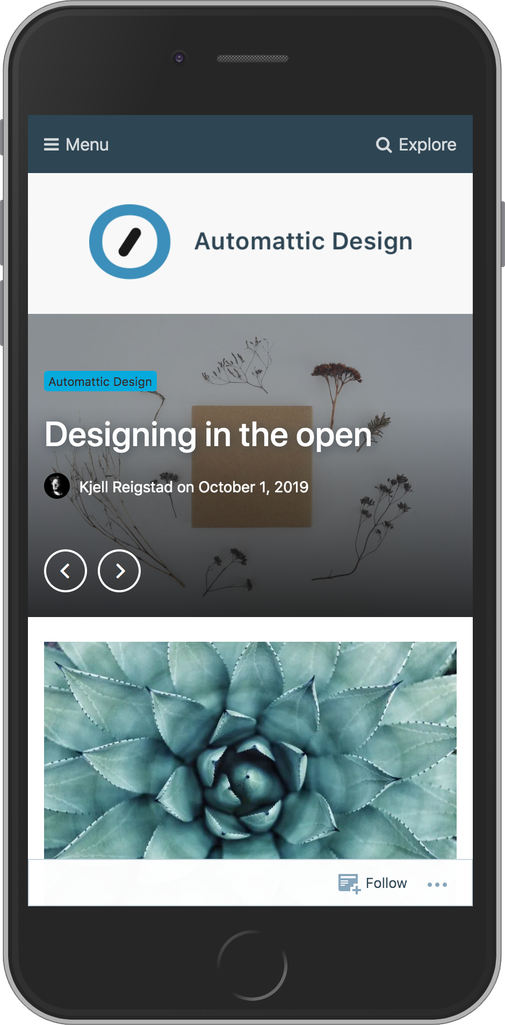
Showing the browser itself surrounding your UI is both a good way to frame the video, but it also helps contextualize and provide size relativity. It’s the same as how showing a mock smartphone frame helps contextualize mobile UI.
Bonus tip: Chrome’s mobile inspector can even add that device frame for you — if you’re not too picky about which device you’re showing. Just hit F12, then toggle the Device Toolbar (⌘⇧M on a Mac, Ctrl Shift M on Windows), then pick “Show device frame” in the overflow menu.


3. Create Consistent “Snap Areas”
BetterSnapTool (or Magnet, I’m told) lets you create snap areas which can resize and position your browser window through a screen dropzone or keyboard shortcut. Create these so your browser is always the same size and position across your demo videos. Make sure your snap areas are even pixel values, i.e. 1234×688 and not 1233×689, as that matters for GIF-making later on.

4. Record Using “Screeny”
Screeny on the App store: If you pair this with tip #3, you can record preset sections of your screen. The great thing about this combination is that you can resize the Screeny capture window to your BetterSnapTool snap areas.

As a free alternative, the built-in QuickTime is also great for recording your full screen, or even sections thereof, but you have to carefully size the section every time.
5. Demo The Latest Version
If you’re demoing software, demo the latest version. Consider even demoing the future version. The UI video will have slightly longer shelf-life, and you’ll tease what’s to come along the way.
6. Create Good Dummy-Content
When demoing creative software, create good dummy content, and if it applies, create beautiful layouts. Even if your goal is a how-to video, it’s always important to tell a story, to inspire. Obvious demo content (unless it’s specifically important to showcase demo content, of course), is just going to give off an artificial vibe.
You can include some nice photos from Pexels. Pick photos around a common theme. Don’t mix styles: either do all nature photos, or all abstract, or all illustration, or all faces, try not to mix and match.
7. Be Cognizant Of What You Demo
Don’t demo a bug that’s already scheduled for a fix. Don’t linger, keep it short and sweet. Show what’s relevant, and avoid everything else.
If you need to edit the movie to snip out certain parts, the Mac app MPEG Streamclip is a relatively easy to use free trimming too.
8. Use Large Text For Things You Want People To Read
This applies to demo content, primarily. Inversely, don’t be afraid to use small text for things that matter less to the story you’re telling.
9. Memorize The Recording Shortcut
If you use Screeny, the keyboard shortcut for starting and stopping recording is ⇧⌘1. That way you don’t need to see the mouse moving out of the recording area to stop a video recording.
An alternative is to record your video with a couple of seconds of extra padding before and after the demo content, then you can snip it out with a video editing tool. See also tip #7.
10. Scrolling On Your Trackpad
Most modern trackpads affords silky smooth scrolling, which prevent jumpiness on the screen. This provides for a much calmer demo video.
11. Convert .mov Files to .mp4
An easy way to do it on the commandline is to install FFMPEG: brew install ffmpeg. Then you convert videos with ffmpeg -i file.mov file.mp4 on the commandline.
Why convert? Because the mp4 files generated by FFMPEG are much more portable and compatible, therefore more likely to work in whatever context you throw them in — slideshows, websites, other documents.
12. For GIFs, Use GIF Brewery
GIF Brewery. Always do this as your last step when you know the video is ready to go. Try full framerate and resolution for prettiest results, then pull back if you need to reduce the filesize further. At the end, run the GIF though ImageOptim, it shaves off more bytes than you can imagine.
Tip #3 mentions using even dimensions for your recording. This is because, at the time of writing, there’s a bug in GIF Brewery that causes various errors if you try and convert a video that doesn’t have even dimensions.
If you’re recording the video with the intent of making a GIF from the start, don’t use high-detail photography, use flat illustrations with reduced colors to ensure a manageable filesize.
Result
Here’s one video recorded with the above principles in mind. Smooth scrolling, legible text, consisten photo material.
What demo video tips do you have to share?
