Translating HelpHub

As of October 2019, Docs & Polyglots team are ready to turn on the HelpHub feature on Rosetta sites as requested. Locale teams can request the feature activation on meta trac (examples).

For more detail information, refer

HelpHub Migration Guide for Rosetta Sites

HelpHub Administrator HelpHub Administrator

Polyglots Global Mentors can grant the first HelpHub Administrator role on a Rosetta site.

  1. Create a copy of HelpHub Migration Worksheet (Template) and enter the URL of the new spreadsheet to HelpHub Migration Translation Status (column E of “Status” tab).
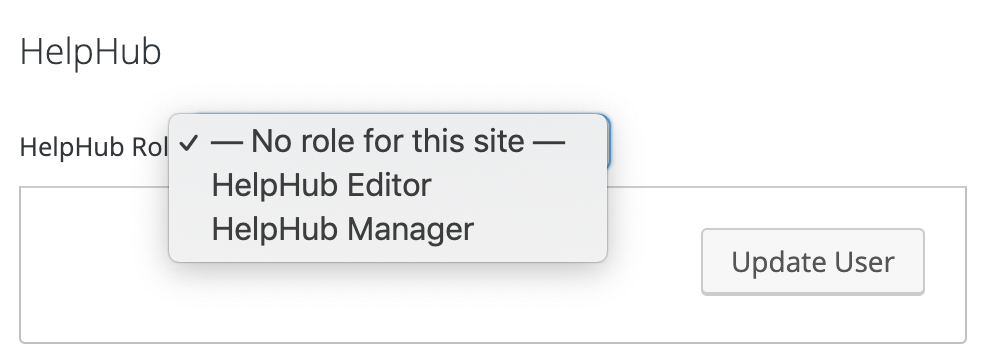
  2. Grant access to other contributors at the bottom of this page: https://LOCALE.wordpress.org/support/users/USERNAME

    (note: the dropdown will keep showing “no role for this site” until #meta-4762 is fixed)
  3. To edit widgets, you will need to have “Administrator” site role. You may need to remove the user’s HelpHub role first since there’s a bug that the HelpHub/blog roles can’t co-exist on /support.
  4. Set up a call for help on your Rosetta site blog or your /team P2. Use the instruction described in the next section to clarify the steps for contributors (here’s an example post in Japanese).

Top ↑

HelpHub Editor HelpHub Editor

Here’s the instruction to contribute to HelpHub translation as an Editor.

Note to HelpHub Administrator: It’s a good idea to translate the steps below and insert relevant links for your locale.

  1. Create a WordPress.org account if you don’t have one.
  2. Join documentation and/or translation channel on your local Slack.
  3. Request HelpHub Editor role. Make sure to provide your WordPress.org username.
  4. Go to your locale’s Migration Worksheet.
  5. Pick an article, enter your name, and update the status.
  6. Go to https://LOCALE.wordpress.org/support/wp-admin/edit.php?post_type=helphub_article and start editing.
  7. Once you have some pages published, you can use the Customizer Widget to show HelpHub article on /support/ landing page.
    1. Select “Widgets” in the customizer.
    2. Select the “Front page blocks” widget area.
    3. Search for a “(HelpHub) Link block widget” and add it.
    4. For dashicons reference, use this link.
Setting up /support/ landing page through Customizer

Top ↑

Notes to Everyone Notes to Everyone

  1. Keep post slugs in English for now so that current redirect rules will continue to work.
  2. All internal links should use relative paths.
  3. Report bugs to Meta trac, or ask in #meta-helphub / #docs Slack channels.
  4. Images that are not screenshots need to be recreated then translated (TBD).